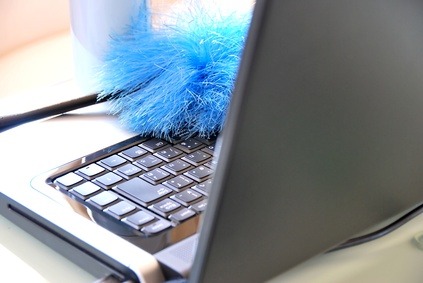
Care for Your Computer
Recently I decided it was about time to clean the crumbs from my computer keyboard and couldn’t believe the amount of dust and particles that shot out from under the keys. While carrying out this small task, I noticed my screen was embarrassingly spotted and smudged as well. This spurred me to do a little research into the appropriate cleaning and maintenance of these valuable tools we use for many hours on a daily basis. Follow this checklist to ensure your desktop computer and laptop are clean, allowing for a more sanitary work environment as well as a longer-lasting system.
What you need:
- Lint-free or microfiber cloths
- Isopropyl rubbing alcohol
- Distilled water
- Labels and zip-ties for cords
- Compressed air
- Q-tips
1. Cord management. Before cleaning, all affected cords should be unplugged. As you unplug each one, dust or wipe it down with a microfiber cloth dampened with isopropyl rubbing alcohol if needed. Then, label the cord with label each cord with a labeler or peel-and stick-labels. Group labels together by location (e.g. all peripherals together) and use zip-ties to hold them together and keep them from getting tangled with others. Don’t group power cables with speaker wire. After the remaining steps are complete, you can then plug everything back in. Note: If you are not using a surge protector, this is a good time to purchase one. If lighting strikes it can cause an excess amount of electricity to reach your computer resulting in severe damage.
2. Clean your keyboard. First, hold the keyboard upside down over a sink or trash can and lightly hit the bottom to knock out larger crumbs and particles. Then, spray between the keys with a can of compressed air to get the remaining dust, crumbs and hairs. Finally, use a small amount of rubbing alcohol and a Q-tip to clean grease off the surfaces and in between each key. (I even read that you can put your keyboard in the top rack of the dishwasher with any cords wrapped in a plastic bag, but I am not recommending this – try at your own risk.)
3. Clean your mouse. While you can dampen a lint-free cloth with rubbing alcohol to clean the outside of the mouse, be sure that cleaning solutions never come in contact with the optical sensor at the bottom of the mouse or the battery case (for wireless peripherals).
4. Clean your monitor. Wipe your screen gently with a microfiber cloth. If that doesn’t do enough, you can mix a solution using one-half 70 percent isopropyl alcohol and one-half distilled water. Or, you can purchase a screen cleaning spray or electronic cleaning wipes from any computer store or office supply retailer. DO NOT USE Windex or paper towels to clean LCD screens.
5. Keep it cool. A heated computer will run slower. There are two ways to keep a computer from overheating. First, make sure any vents are located away from objects that may block the flow of air. Second, keep the inner components free of dust, hair, carpet fibers and other materials. Regularly clean them with compressed air or a very lightly-powered vacuum (about the power of a leaf blower). You can even use something like the Metro Vacuum ED500 DataVac 500-Watt 0.75-HP Electric Duster 120-Volt, specially designed for electronic equipment. Be sure to hold the fan blades with your finger or a pencil so that it doesn’t spin while cleaning. Also, never use cleaners or other liquids on your computer components. (To open your computer’s hard-drive for cleaning, refer to the owner’s manual or online instructions).
Now that the outside of your computer is in tip-top shape, spend a little time cleaning the internal operational systems for even better performance.

Recent Comments